Introduction
Keyless Go Jumper Harness (KG20166) Installation- only required if vehicle is equipped with Keyless Go (push button start)
-
-
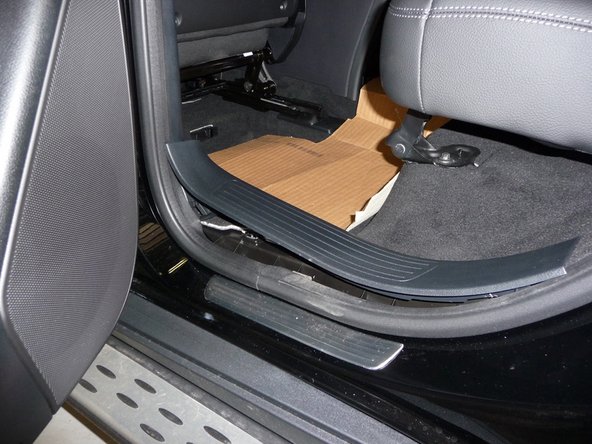
Remove the driver’s rear door sill plate.
-
-
-
Fold the driver’s rear seat bottom forward.
-
-
-
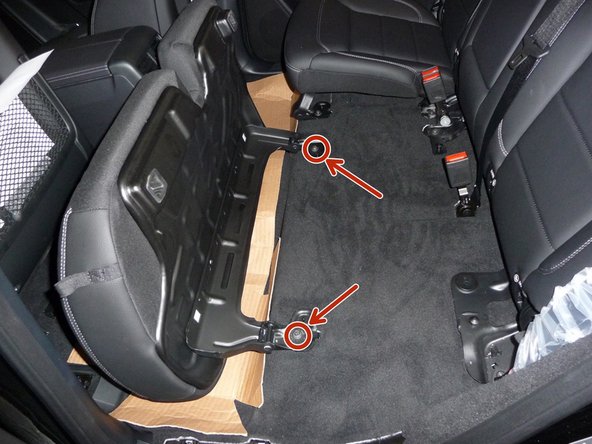
Remove two (2) bolts holding the seat bottom to the floor.
-
-
-
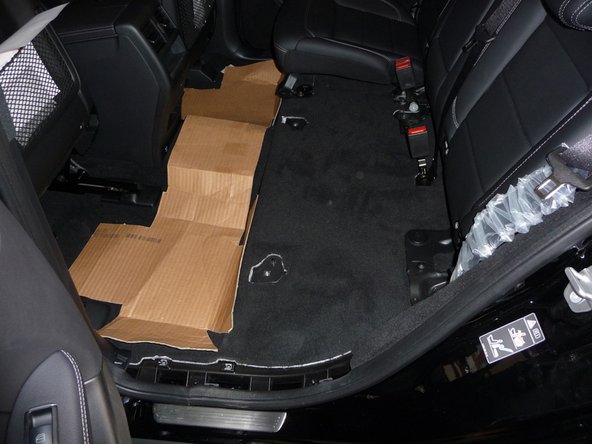
Remove the driver’s side rear seat bottom from the vehicle.
-
-
-
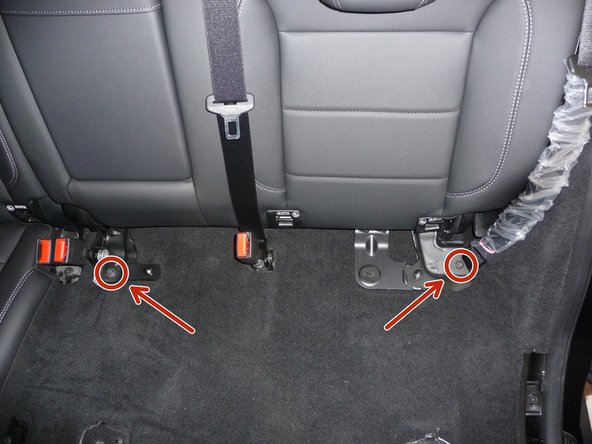
Remove one (1) bolt holding the center seat back bracket and (1) bolt holding the seat belt.
-
-
-
Fold the rear driver’s side seat back down.
-
-
-
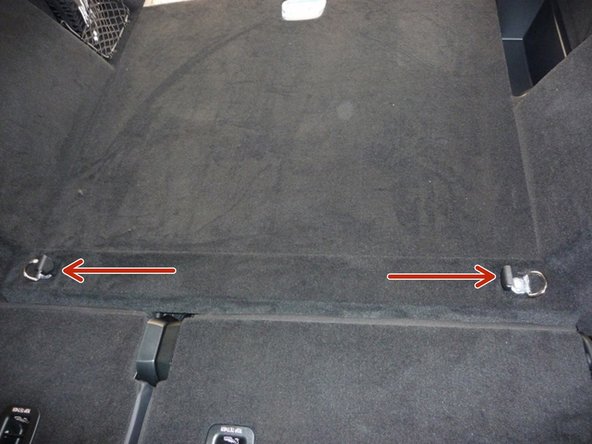
Pry up the covers for the tie down loops in the cargo area.
-
-
-
Remove the bolts from each tie down and remove the hooks from their mounts.
-
-
-
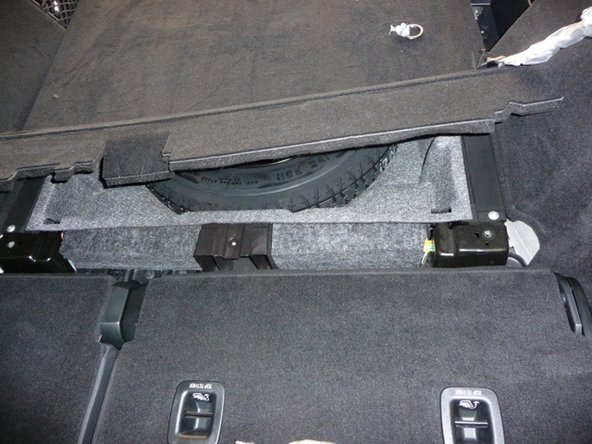
Remove the cargo cover.
-
-
-
Remove the foam inserts directly behind the rear seats.
-
-
-
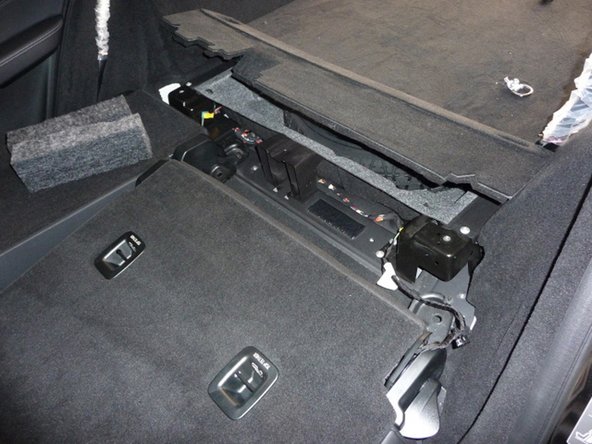
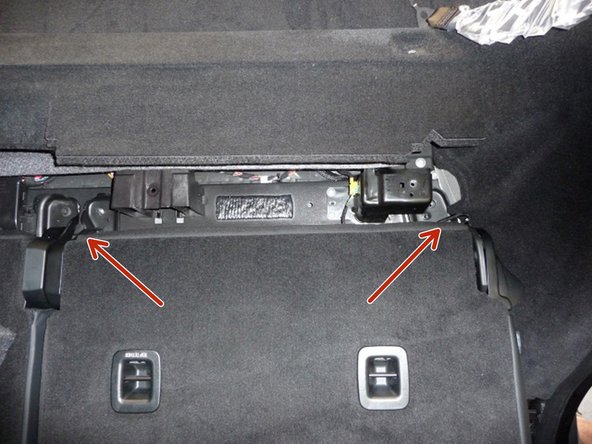
Remove two (2) additional bolts that hold the driver’s side rear seat back.
-
-
-
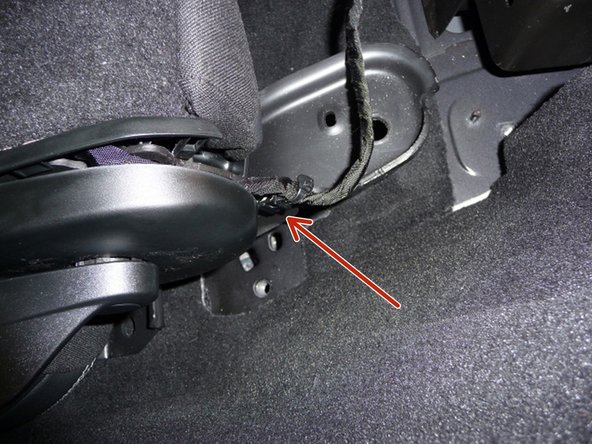
Un-clip the wire harness that is clipped to the driver’s side rear seat bracket.
-
-
-
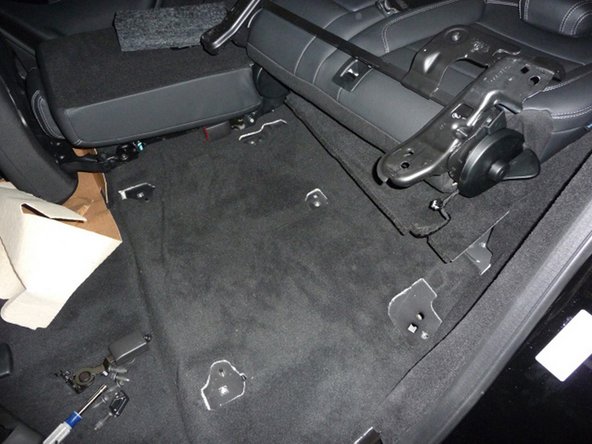
Flip the driver’s side rear seat back into the cargo area making sure the wire harness doesn’t get pinched or pulled beyond its limit.
-
-
-
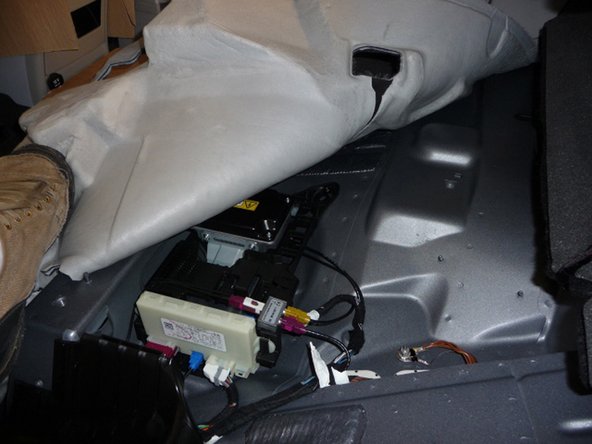
Pull up the carpet to access the KeylessGo module on the floor.
-
-
-
Route the supplied KeylessGo harness (KG20166) from the Smartkey Starter® module to the rear seat area.
-
-
-
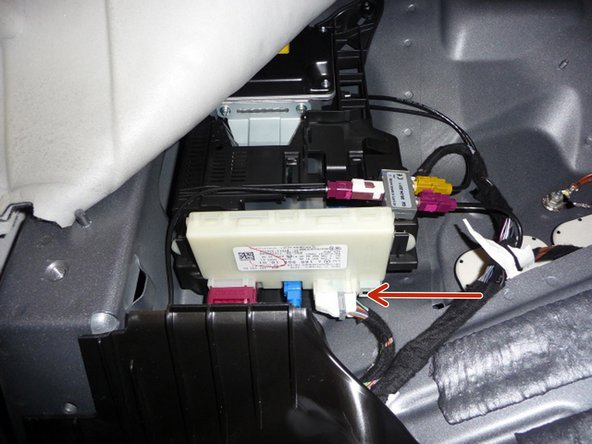
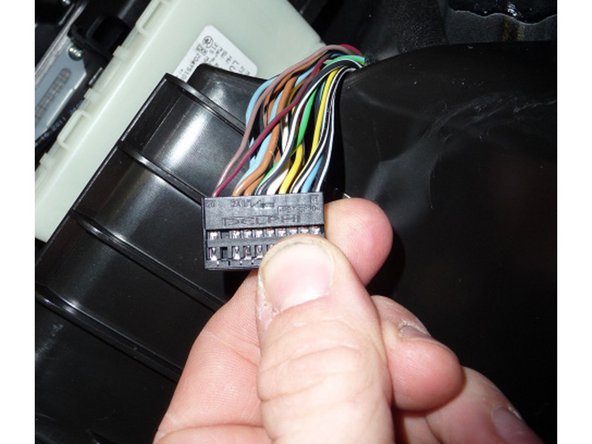
Un-plug the main connector from the KeylessGo module.
-
-
-
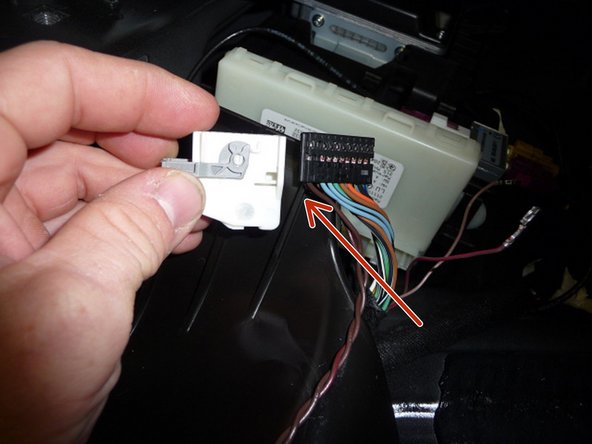
Remove the shroud from the main KeylessGo connector.
-
Shroud removed from plug
-
-
-
Remove the brown and brown/red wires from the KeylessGo plug.
-
Make a note of the wire locations in theplug.
-
-
-
Insulate the ends of the removed wires.
-
-
-
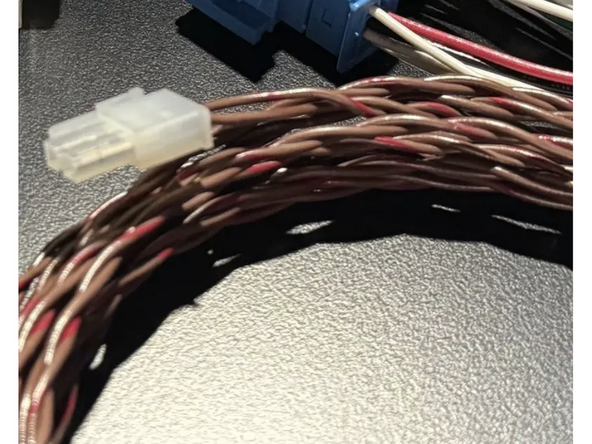
Using the supplied W166 KG jumper harness (KG20166), populate the brown and brown/red wires into the locations where the factory wires were removed.
-
-
-
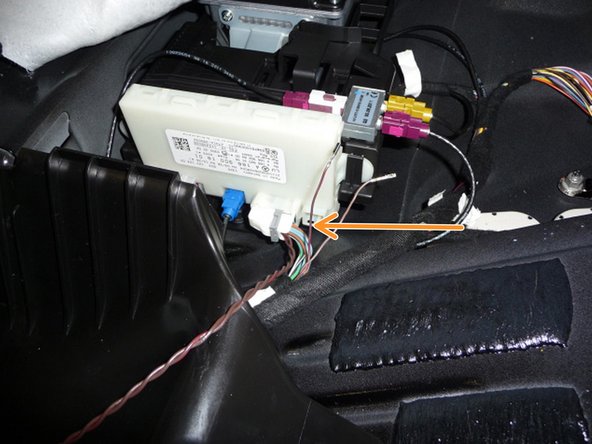
Re-install the shroud for the KeylessGo main plug and plug it back in.
-
New pins installed, reinstall shroud
-
Plug KeylessGo module in
-
-
-
Close all doors, hood and hatch to test the remote start.
-
-
-
Remote start the vehicle.
-
If everything is connected properly, you should be able to lock and unlock the vehicle using the touch sensors on the door handles while the remote start is running.
-
-
-
Unlock and enter the vehicle.
-
Push the start button one time.
-
The lights should flash three times to confirm key take over.
-
-
-
Turn off the vehicle.
-
-
-
Secure the KG20 harness to existing wiring.
-
-
-
Lay the carpet back in place.
-
-
-
Re-mount the seat back and seat belt. Make sure the wire harness is clipped back into place.
-
-
-
Fold the seat back down and install the foam inserts and the cargo cover.
-
-
-
Re-install the cargo tie down hooks.
-
-
-
Fold the seat back up.
-
-
-
Re-install the seat bottom and bolt it in place.
-
-
-
Re-install the sill plate.
-